

Northern Undead Asylum
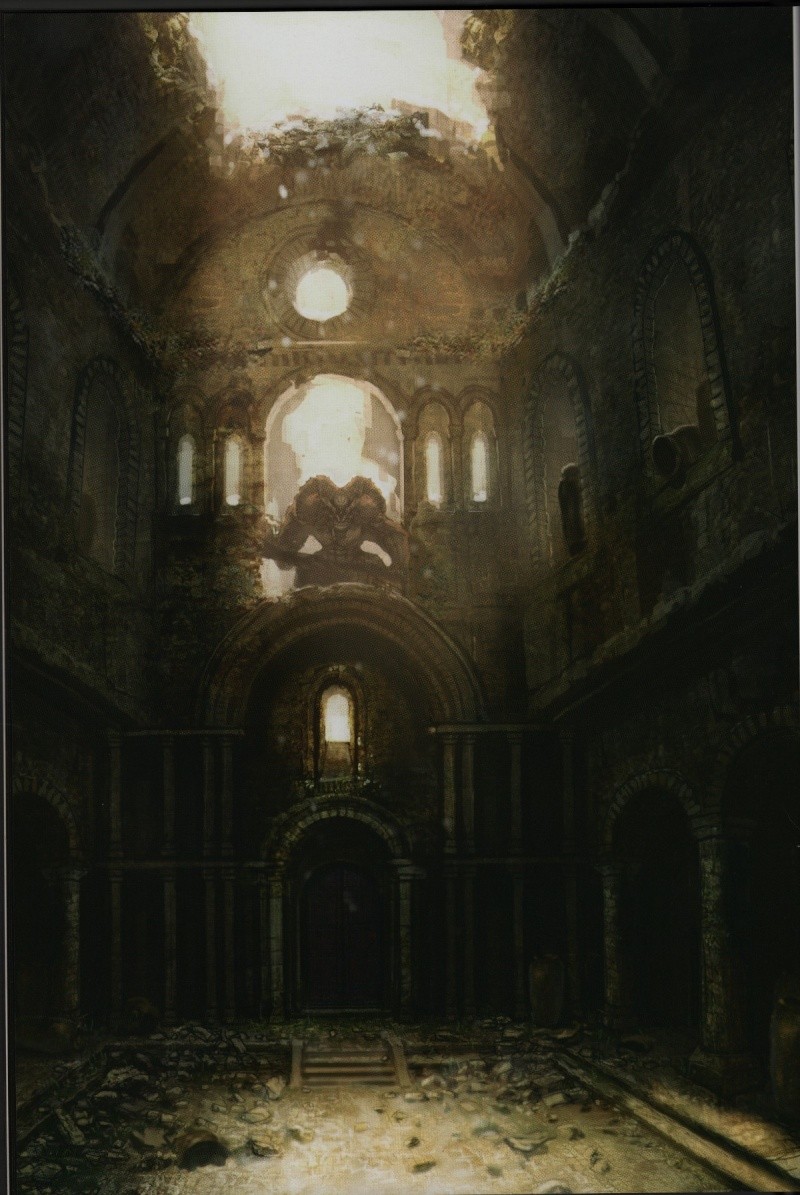
Esta é a área de início do jogo. Seu personagem estará preso em uma prisão e precisa encontrar o caminho para fora, e enquanto anda pelo local o jogador verá mensagens em laranja que ensinam os comandos básicos do jogo.
NPCs
- Elite Knight
- This NPC rescues you from captivity (by giving you the Dungeon Cell Key in the opening sequence) and later gives you five Estus Flasks and the Undead Asylum F2 East Key before dying.
- The Elite Knight is located in an enclosed room directly ahead of you after you go through your first fog gate (after acquiring your starting class' weapon and shield). In order to gain access to him you must trigger the boulder trap on the way up the stairs to the third level's locked east wing door. The boulder will roll down the stairs and break down the wall, granting you access to his desolate room.
- If you manage to beat the Asylum Demon (the boss of this area) during the initial encounter with it instead of running away, before you acquire your starting class' weapon and shield, the Elite Knight will also give you the Big Pilgrim's Key (which is normally received upon defeating the Asylum Demon during the second encounter with it after having traversed through the entirety of the Northern Undead Asylum) when you speak to him.
- If you return to the Northern Undead Asylum at a later date, you will find that the Elite Knight has hollowed and will be hostile towards you.
- Trivia: the Elite Knight's name is Oscar of Astora. The name was obtained from a text dump of the game's dialogue; however, the NPC in the Elite Knight armor set never officially reveals his name throughout the game. This is mere speculation.
- Snuggly is a merchant of sorts. You are able to give certain items to Snuggly in exchange for other items. See Snuggly's page for details on how to trade with them and which items you can trade and receive.
- Snuggly is located on the right side of the cliff after you have exited the building portion of the area (by defeating the Asylum Demon and using the Big Pilgrim's Key to open the locked door which the Asylum Demon is guarding).
Items
- Dungeon Cell Key
- Estus Flask
- Starting Class' weapon, shield, and magical catalyst if applicable.
- Undead Asylum F2 East Key
- Big Pilgrim's Key
- Demon's Great Hammer (boss spoil; this instance of this weapon is only obtainable if the player defeats the Asylum Demon during the initial encounter with it instead of running away -- see the hyper-link for details on how else to acquire this weapon much more easily)
- Humanity Item (boss spoil)
- Soul of a Lost Undead
Enemies
- Zombie (unarmed)
- Zombie (Bow or Sword)
- Undead Soldier (Sword)
- Boss: Asylum Demon
Walkthrough
Basement Floor
When you gain control of your character, investigate the newly-dumped corpse beside you to attain the DUNGEON CELL KEY. With this key, you can open your cell door. Scattered on the ground in the hallway in front of you, you will see Orange Guidance Soapstone messages left by the developers in order to teach you the basic controls and manoeuvres you can perform with your character. You will also find unarmed Zombies (people who have died and hollowed) who you can practice your newly-acquired moves on. They will not fight back so don't be afraid to try everything out on them, and get used to the game's mechanics and battle system. As you proceed down the hallway, you may hear very large footsteps coming from your right. If you look to the right, you will get a glimpse of the Stray Demon, an optional boss who you may face upon returning to the Northern Undead Asylum. At the end of the hallway you will come to a waterlogged room with a path on the right leading to a ladder. Take the ladder up, proceed out of the room into the open courtyard, and interact with the bonfire. Since the game auto-saves frequently, bonfires act as the checkpoints of this game. If you die, you will respawn at the last bonfire you rested at. You may also perform a plethora of other extremely useful actions at bonfires, but for now you may only rest at them (which replenishes your HP, spell uses, and cures you of any negative status ailments except for Curse). If you explore the courtyard, you will find a gigantic door directly ahead of the bonfire and a door on the right side of the area (if facing the gigantic door) which is locked from the opposite side. Keep this door in mind for a little later. When you are ready, open the gigantic door. Here you have two options: you may choose to run towards the closed door directly ahead of you and fight the Asylum Demon with just your Straight Sword Hilt or bare fists, or you may run to the stairwell on the left side of the room (when facing the closed door ahead of you) thus escaping the initially tedious and arduous fight with the Asylum Demon. If you choose to fight the Asylum Demon at this point, then please visit his page hyper-linked below for in-depth information about him. Upon his defeat he will give you his DEMON'S GREAT HAMMER and a consumable HUMANITY item.
Initial Boss Fight: Asylum Demon
Second Floor
If you choose not to fight the Asylum Demon then make a dash to the far end of the left side of the room to find a stairway. Once you enter the stairway a spiked gate will close behind you, signifying your safety from the Asylum Demon. At the bottom of the stairs you will find another bonfire. Rest here if you feel the need, and then proceed to the long hallway. At the far end of this hallway, you will see another Zombie. Unlike the previous Zombies that you have met, this one is hostile and has a bow. Immediately make a dash for the item you see laying on the dead body in a cell door to your left to acquire your starting class' SHIELD. Within the cell you will find another Orange Guidance Soapstone message informing you of how to equip armaments. Run towards the Zombie with your shield up in order to block his arrows, and then pick up your starting class' WEAPON from the body laying on the ground near the Zombie. Kill the Zombie and proceed up the stairs, towards your first fog gate. A fog gate represents either a change in the area or a boss fight beyond the fog gate. This time it merely represents the fact that you are entering the second floor of the Northern Undead Asylum. If you turn to the left you will be overlooking the first bonfire of the game, as well as the door to the Asylum Demon. You will also notice two paths: one leading to you left, and one leading to your right. The path to your left also has an item on a level higher than what you are currently on, and is otherwise a dead end. The path to your right has a set of stairs going up and down. For now, take the stairs going down. At the bottom of the stairs, you will notice the door which was locked from the opposite side. You may undo the latch and open the door, opening a short-cut to the upper level from the first bonfire. When you are finished opening the locked door and doing whatever else you wanted to, head back up the stairs to the second level. Before you take the stairs leading upwards to the third level, note that there is a trap at the top of the stairs. Once you start heading up the stairs, a Zombie will push a huge boulder down the stairs which will run you over if you do not roll out of the way (to the right). You should hear an auditory queue to tell you when the boulder has been pushed, but unless you are listening for it and are prepared for a trap, you will most likely get run over. On your left you should see an arched, spiked fence. The boulder is typically triggered when you have gone past half of the arched, spiked fence (going up the stairs). So the best time to roll out of the way would be when your character is parallel to the halfway mark on the arched, spiked fence. Once the boulder has gone by, investigate the hole which it created in the wall opposite the two sets of stairs. Don't worry about the Zombie who pushed it down because he will not chase you. In this previously-enclosed room, you will find the Elite Knight NPC who helped release you from your cell during the opening sequence of the game. He is dying here, and with his final breaths he gives you five ESTUS FLASKS, the UNDEAD ASYLUM F2 EAST KEY, and possibly the BIG PILGRIM'S KEY (if you managed to beat the Asylum Demon during the initial encounter before your got your starting class' gear) before dying. Now you may safely proceed up the stairs to the third level where you must use the newly-acquired Undead Asylum F2 East Key to open the gate to the balcony area.
Third Floor, Balcony Area, and the Cliffside
If you have chosen a starting class which uses magic then you will find your starting class' CATALYST on the right side immediately after you exit the hallway. On the balcony itself you will encounter three more Zombies, but this time two will be armed with Broken Straight Swords while the third will harass you with a bow and arrow. They are not much more of a threat than they were when they unarmed. Dispatch them, and then enjoy the Gorgeous View of the background. Note that you can also see Snuggly from here (the bird's nest on the lone perch on the right side of the cliff). If you have not already dispatched the Asylum Demon then you will also find a massive fog gate up the small set of stairs where the archer was stationed. Ignore this for now, and enter the door to the right of the massive fog gate. At the opposite end of this room, you will find an Undead Soldier (Sword). These foes are equipped with a Longsword, and Hollow Soldier Shield, and the Hollow Soldier armor set. They can deal a large amount of damage to characters with light (and even medium) armor, and their move set is hard to parry at first because of their unusually slow attack animations. Do not take these enemies lightly until you have learned their moves, as they can punish you for underestimating them. Behind the Undead Soldier (Sword) is a locked door. Keep this in mind for your return to the Northern Undead Asylum. Once you have finished off your first real enemy, proceed to the massive fog gate. However, before entering it be sure to heal up using your Estus Flasks. When you are ready, enter the fog gate. (If you have already killed the Asylum Demon during the initial encounter with it then the fog gate will not be there and you will just have to drop down from the ledge and open the door that the Asylum Demon was guarding with the Big Pilgrim's Key which you will have received from the Elite Knight.) You will quickly notice that you are on a ledge above the door which the Asylum Demon is guarding, and that the Asylum Demon is directly below you. Moreover, do not waste any time contemplating the best course of action otherwise the Asylum Demon will leap up to your level and smash your and your ledge with his Demon's Great Hammer. As the Orange Guidance Soapstone message at the foot of the steps leading up the fog gate is hinting at, immediately walk or run off the edge and hit the Asylum Demon with a plunging attack, taking away much of his HP. Then prepare to fight him for real, with your starting class' gear.
Actual Boss Fight: Asylum Demon
Once you dispatch the Asylum Demon, he will give you 2,000 Souls, the BIG PILGRIM'S KEY and a consumable HUMANITY ITEM. Use the Big Pilgrim's Key to open the door it was guarding to exit the building. Make your way up the cliff, and after you scale the first steep incline you will come to a relatively (in comparison) flat stretch with three gravestones to your right. If you take the path to your right you will come to a bird's nest containing Snuggly. For the moment you can only trade one thing with Snuggly, and it's not a very good trade. Make a note of Snuggly's location for future reference and then move on. If you take the path to your left and follow the winding path as it goes downhill you will discover a SOUL OF A LOST UNDEAD on a bereft corpse. Once you are finished up with the area, head up to the top of the cliff to the giant crow's nest to initiate a mandatory cut-scene.
Northern Undead Asylum (Revisited)
Firelink Shrine
In order to return to the Northern Undead Asylum, you must first have activated the short-cut elevator that goes down to the Firelink Shrine from the Undead Parish. Before you return to the Northern Undead Asylum, it is advisable to get the Undead Asylum F2 West Key from the roof of the building where Petrus of Thorolund is located. Getting this key ensures that you can collect everything possible from the return to the Northern Undead Asylum in one trip. It is also advisable to return to the Northern Undead Asylum as soon as possible in order to get the Rusted Iron Ring.
Get on the elevator from Firelink Shrine and, as the elevator starts moving up, you must move forward and drop on top of the area where you enter / exit the elevator at the bottom. Follow the path to the right, on top of a little green patch of grass, then look down and you will see a broken column. Roll towards that broken column and land on it, then go up the beam. This will take you to a set of stairs. Go up the stairs and when the stairs make a 180 degree turn, you will see a roof directly in front of you. You should also see a corpse on the roof clutching an item. Jump onto the roof and collect the UNDEAD ASYLUM F2 WEST KEY. Make your way back to the elevator, jump onto the roof of the elevator entrance, head across the grass patch, jump onto the beam and head up the beam to the stairs. From there, climb up the stairs all the way to the top where you will find a crow's nest (similar to the one at the Northern Undead Asylum ). Step in to it and you will get a prompt to Curl Into a Ball . If you curl up into a ball and wait about 30 seconds the crow will pick you up and bring you back to the Northern Undead Asylum , dropping you off in its nest there.
NPCs
Items
- Crest Shield
- Rusted Iron Ring
- Peculiar Doll
- Titanite Slab (boss spoil)
- Humanity Item (boss spoil)
- Homeward Bone (boss spoil)
Enemies
- Zombie (Torches)
- Undead Soldier (Sword)
- Undead Soldier (Spear)
- Hollowed Elite Knight
- Black Knight
- Boss: Stray Demon
Walkthrough
Cliffside
Upon returning to the area the first thing you will notice is that the Zombies are wielding torches. Since the player typically has horrendous fire resistance, these foes deal heavy damage to you if they can connect. Be cautious when engaging these enemies, as they can easily wreck you if you are not careful. The only new area unlocked in the Northern Undead Asylum is the third level's west wing (where you may have noticed an item which you could not collect after the very first fog gate of the game). If you recall from your first run-through of the area, the door behind the lone Undead Soldier (Sword) on the third level's west wing was locked, but is unlocked with the Undead Asylum F2 West Key which you should have just gotten from the Firelink Shrine on your way back to the Northern Undead Asylum.
Boss Room
Before you start wandering around aimlessly after entering the building, ensure that you don't walk anywhere in the center of the room (marked by the part of the floor which is lowered by two steps) where you fought the Asylum Demon because the floor will collapse and you will prematurely fight a tough boss in the pit, the Stray Demon.
Second Floor
If you head back to the second level where the Elite Knight died, you will notice that the boulder trap will have reset. Activate the trap a second time to re-open the hole in the wall, and the Elite Knight will emerge, now hollowed and hostile. He is a tough opponent, but has a slow roll and will be vulnerable after each roll and when he is wielding his weapon with both hands. Play defensive and attack only when you have the opportunity to. Being too aggressive could lead to your early demise because he has a good damage output. End his suffering and he will drop his CREST SHIELD, a very powerful magical shield with one of the highest magic deflection rating in the game.
Third Floor, West Wing
On the third level's west wing, you can unlock the locked door in the western room with the Undead Soldier (Sword). This room now also has an Undead Soldier (Spear), making a total of two Undead Soldiers to deal with. Behind the locked door (which you unlock with the Undead Asylum F2 West Key that you find in the Firelink Shrine) you will find the RUSTED IRON RING, which is a very useful ring for certain parts of the game.
Basement Floor
Two Black Knights will be present during your return to the area, who will not respawn when you kill them. One will be in front of the cell which you started the game in, and he will be guarding the PECULIAR DOLL which is now mysteriously sitting in your cell. The other Black Knight is at the end of the hallway where you got your starting class' weapon and shield, in place of the Zombie archer.
Boss Room Revisited
Whenever you are ready, head to the center of the room where you fought the Asylum Demon. The floor will collapse and you will fall into the pit which you can see from the hallway leading to and from the cell you start the game in. Here you will fight the Stray Demon, a tougher version of the Asylum Demon.
Boss Fight: Stray Demon
Defeating the Stray Demon will grant you 20,000 Souls, a TITANITE SLAB, a consumable HUMANITY ITEM, and a HOMEWARD BONE. After you have collected the few new items in the area, you can continue with your journey back on the mainland of Lordran.
Below is a video walkthrough of the return to the Northern Undead Asylum.
Map
 |
| Click to enlarge! |
Return to Guia de Locais |
Next Area: Santuário do Enlace de fogo (Firelink Shrine) |